

xata roll commands to manage migrations, and an example with changing column types.
To better understand the use case and our novel approach to the challenge of schema changes, see the schema changes core concept page for more details.
xata roll is embedding pgroll behind the scenes and additional details around schema changes can be found in the pgroll documentation.
1. Prerequisites
- A Xata account (sign up here)
- The Xata CLI installed:
- Access to your Xata PostgreSQL branch
2. Create a Xata project and branch
In the Console, create a new project and then click the Create main branch button to create the PostgreSQL instance.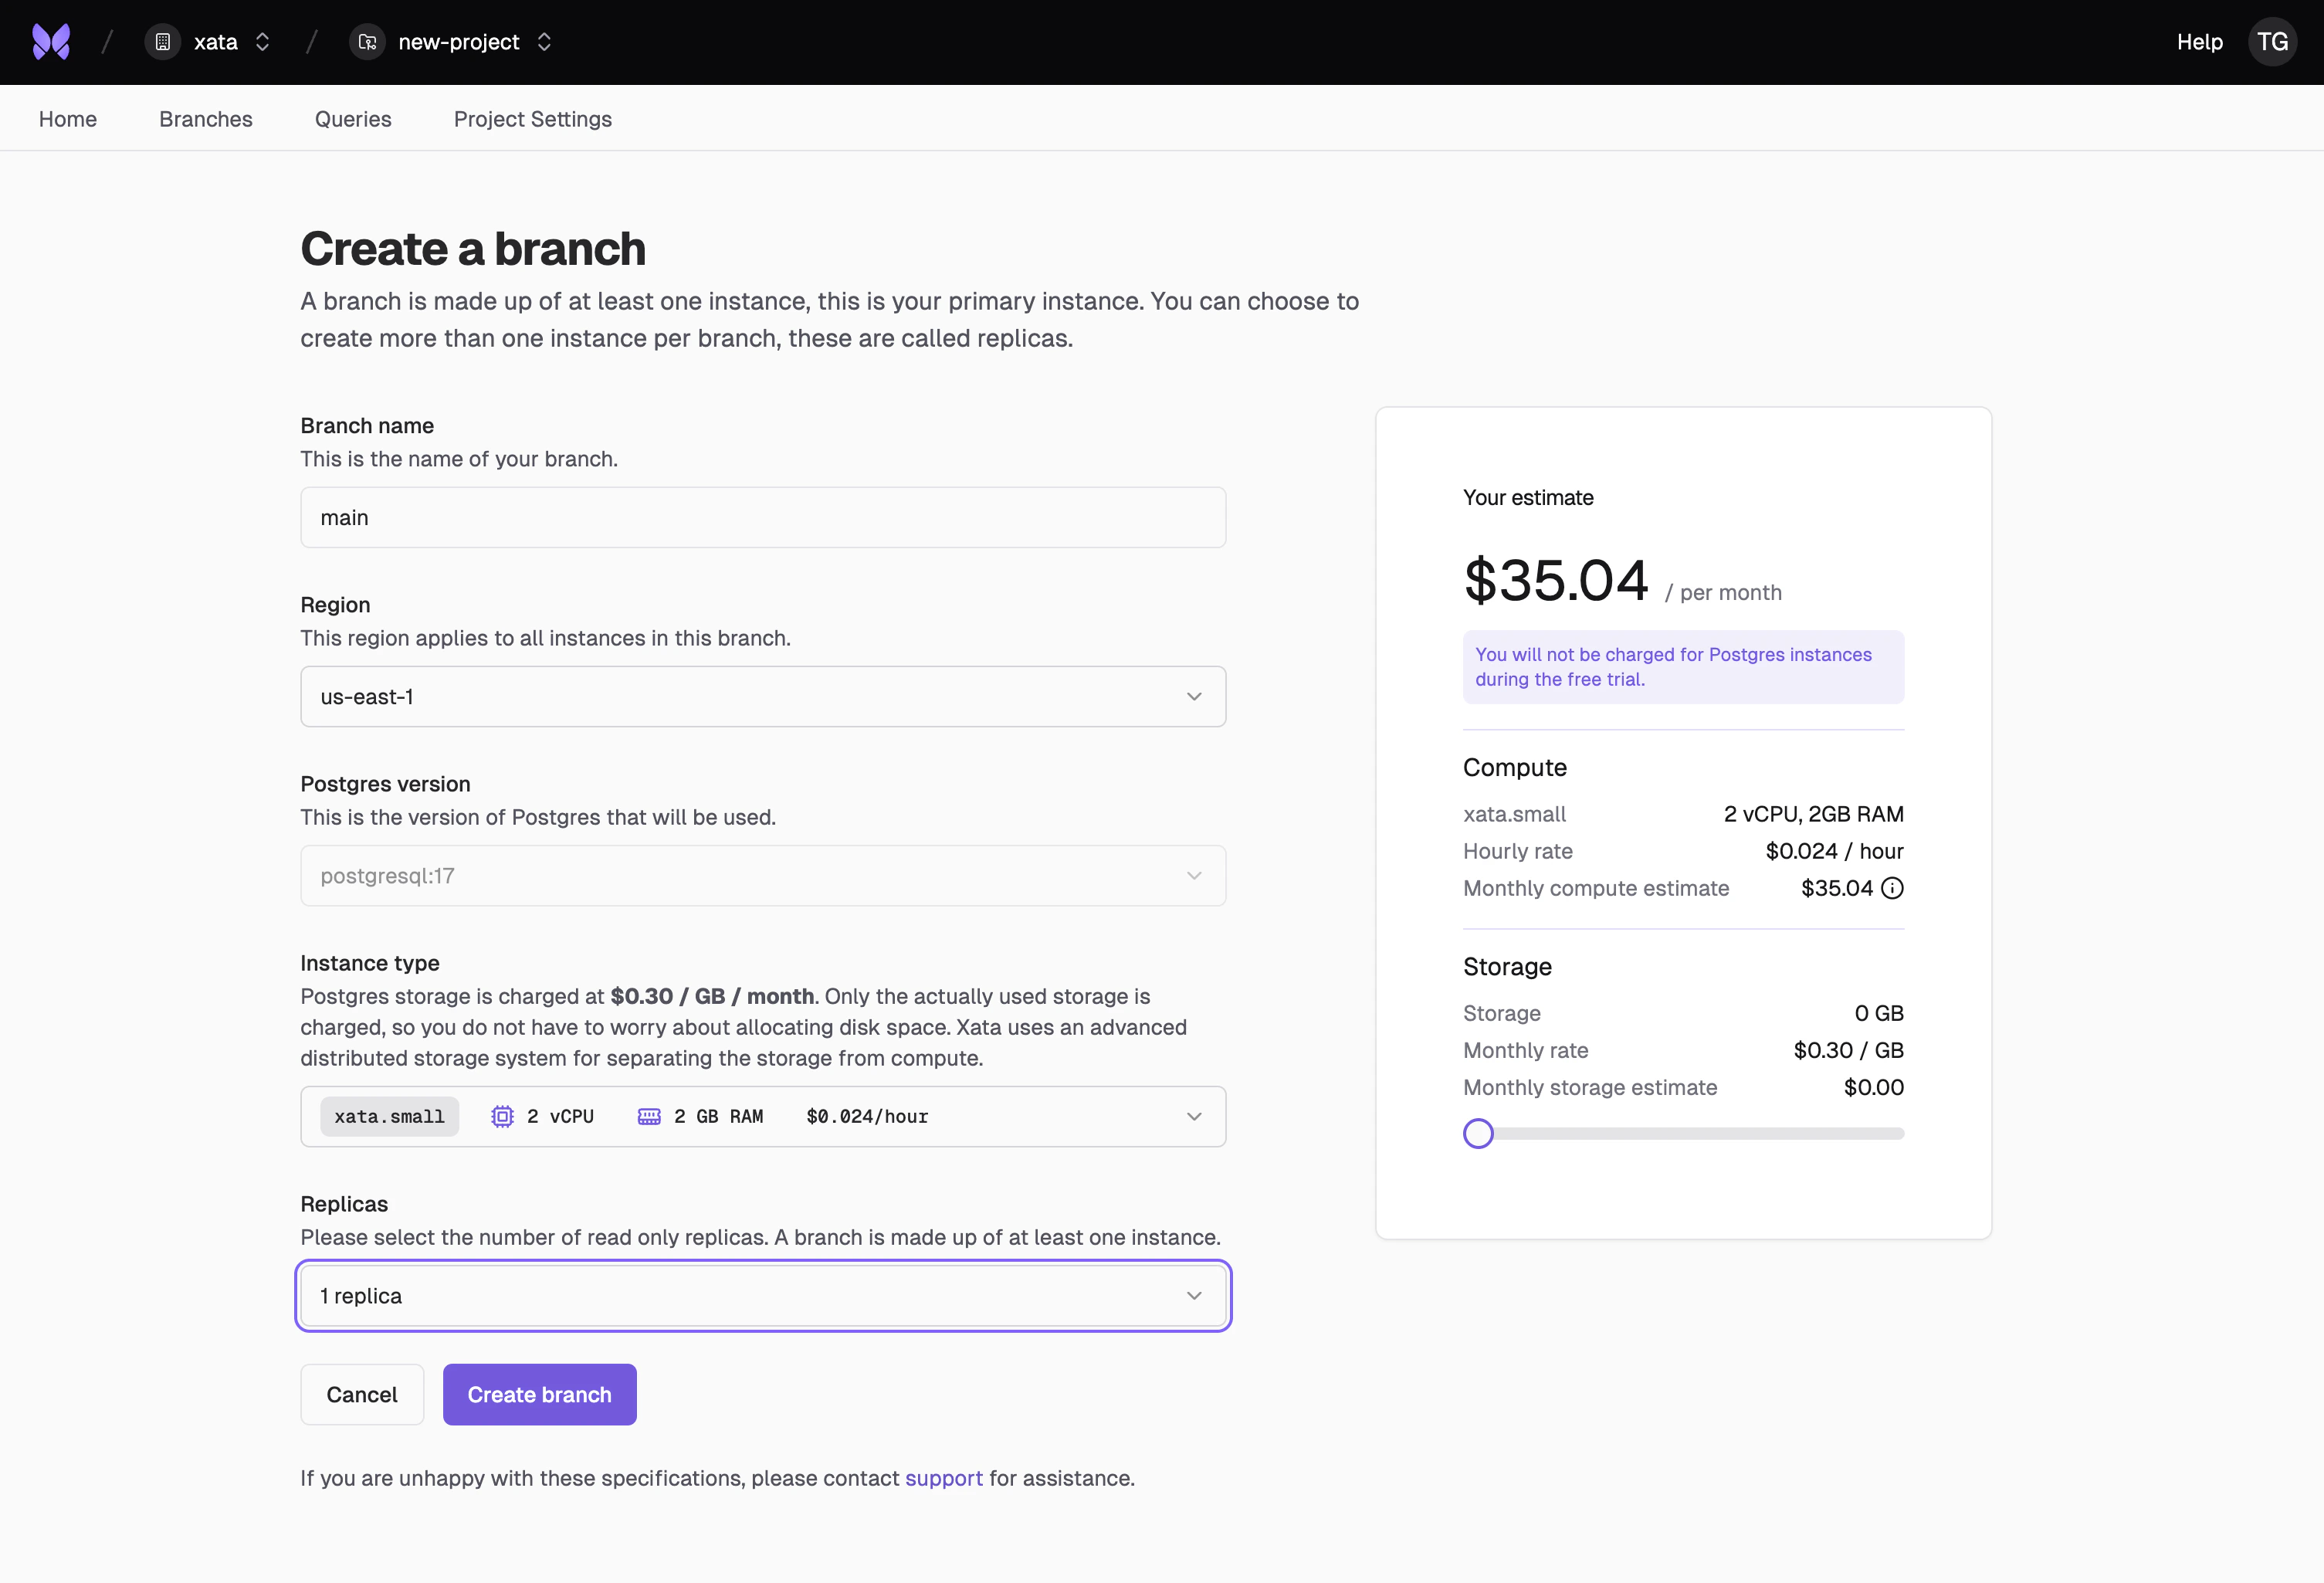
3. Configure the Xata CLI
Authenticate the CLI by running:xata init command in your application source directory, or in any directory/repository where you’d like to keep the configuration. It will create a .xata folder with several configuration files.
Follow the instructions from the prompt to select the project and branch that you created at the previous step.
4. Prepare a migration directory
Initialize migration tracking on your current Xata branch:5. Create initial tables
First, let’s create a migration file for our initial schema:6. Insert sample data
Now let’s insert some sample data using psql:7. View and pull changes
You can view the changes in your branch details page in the Xata Console. The changes will be tracked automatically. To pull the latest migrations locally, run:.xata/migrations directory.
8. Create a new schema change
Let’s create a migration that:- Changes the
qtycolumn in theorder_itemstable from integer to float - In the
upfunction (current schema → new schema):- Converts any quantity less than 1 to 1.0
- Converts all other values from integer to float
- In the
downfunction (new schema → current schema):- Uses the column value directly for rollback
9. Start the migration
Start the migration using:10. Roll back the migration
When a migration has started, it is serving up both version of the schema simultaneously. You can instantly revert any schema changes during an active migraiton by rolling back the changes. To test rolling back, run:11. Check migration status
Let’s start the migration again and check its status:In progress and you can view all statuses available here.
12. Complete the migration
To finalize the migration, run:13. (Optional) Add to CI/CD with GitHub Actions
To automate schema changes in your CI/CD pipeline, you can use our GitHub Actions workflow. This workflow creates a dedicated Xata branch for each pull request, allowing you to test database changes in isolation. For details about setting up the workflow and available configuration options, see our GitHub Actions PR workflow documentation.14. Summary
- Use
xata roll migrateto apply migrations - Use
xata roll statusto check migration state - Use
xata roll rollbackto undo migrations if needed - Use
xata roll completeto finalize migrations when your application is ready - For more details on up/down migrations, see the pgroll documentation.
- See the CLI reference for all available
xata rollcommands.